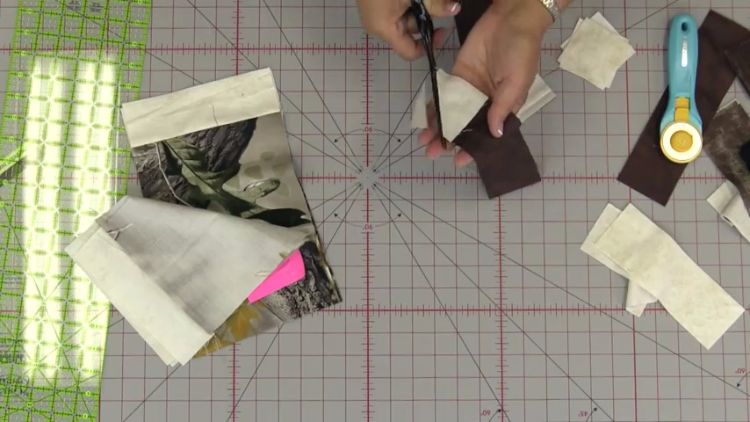
Attic Window Quilt Easy Attic Window Quilt Pattern
The attic window quilting pattern is a bit of a mind trip. Although the quilt is two-dimensional, the pattern makes it look as if you are looking through a real window and into a scene beyond it! It is an optical illusion, and it is surprisingly easy to do it yourself.
Attic window quilts are especially great for hanging on a wall, because, as I said, they give you the feeling that you are looking out a window. Here's a quick look at how to create that effect on your own.
Watch the attic window technique video tutorial by the Missouri Star Quilt Company:
Materials
One large piece of fabric, preferably with a pattern, which you will use as the background (the scene that one looks at when they look out through your attic windows)
2 inch wide strips of fabric in two to three different colors of similar, variant shades (this will create the illusion of shadow, making the window panes look 3D)
Thread
Scissors/rotary cutter
Sewing machine/sewing needle
Iron
Pro tip: There are several different ways to make an attic window quilt. Some, like the technique seen in the video, have one large pattern for the background, which makes it look like you are looking out the window to a scene outside. Others, like this one from Janet Wickell at About.com, use a different pattern for the background for each square, and that is totally fine too. Ultimately, it comes down to what you want your quilt to look like, so you can choose the pattern you like the best!
Written Instructions
1. Attic window quilts are simple to make because they are made up of a series of individual blocks. To make one block, start with a square of material that you would like to use as your background. Cut it to the size you would like (Equilters.com has several charts that explain the measurements you would use for making 6, 9, or 12-inch blocks). But remember, the bigger your blocks, the fewer you will need for your finished quilt!
If you are making a quilt with a scene, as in the video, you will still need to cut the background material into squares, which you will later sew back together, once they have been paired with the windowpanes. (This can get a bit tricky, so be sure to check the video before you start cutting!)

2. Next, cut your 2-inch wide strips to match the length of your block. Place one strip along the bottom of the square, face-to-face, edges together, and sew in place, making sure to maintain a ¼ inch seam allowance. Open out the fabric and press the seam flat.
3. Then, take a strip of the same fabric you used for the bottom of your window pane and cut a small square from it (check the charts I mentioned above for measurements). Then, take a strip of a second color, and place your small square at the end of it, as shown in the video.

4. Finger press the square in half, so that you can see a diagonal line across the center. Then, sew along the line you created, and cut off the material on the shorter side of the diagonal line you just sewed. This will leave you with a pointed piece for the corner.
5. Unfold the materials that you just sewed together, and you have one long, rectangular strip again! Press this flat with an iron.

6. Now, take the strip you just made, and place it facedown on the side of your background square, making sure that it lines up properly with the bottom strip. That triangular shape you just created in the corner will be what gives the quilt a three-dimensional look, so be sure it is placed correctly. Sew this piece to the block, just as you did with the first strip, leaving a ¼ inch seam allowance.

7. Unfold the fabric, press flat, and voilà! Your first attic window block is complete. Repeat this process with the rest of your blocks (making sure to put the second strip on the same side of your squares each time), and you will have a lovely attic window quilt.
Once that is finished, hang your quilt up on a wall or leave it on display so that everyone can look out of the beautiful window you just made!

clogstoundensicke.blogspot.com
Source: http://diyeverywhere.com/2017/01/31/watch-how-to-quilt-the-attic-window-pattern-video-written-instructions/
0 Response to "Attic Window Quilt Easy Attic Window Quilt Pattern"
Post a Comment