How to Make Cross Stitch Christmas Decorations
It's only a few weeks 'til Valentine's Day and I hadn't quite found a good gift for my boyfriend yet. So I decided to make one! When I saw this pattern by QuaternionCreations I knew what I wanted to do. But I put together a flat ornament that he can hang in his office. Plus it can be re-purposed as a Christmas ornament next year! And now I'm gonna show you how I did it!
This post may contain affiliate links. If you buy something using one of these links, I earn a small commission. However, there is no extra cost to you. Thanks for understanding! Learn more in my Disclosures & Privacy Policy.
Picking your design
When I first saw QuaternionCreations' "I love you" in Klingon pattern, I knew I wanted to stitch it. And that says a lot, as I don't often have time to stitch other people's designs. But the boyfriend and I have watched so much Star Trek together it absolutely felt necessary.
Their first design was using the phrase bangwi'SoH, which essentially translates to "You are my loved one." But we've always been partial to an alternate phrasing of 'I love you' which is basically "I don't hate you." So I reached out to Quaternion to see if they'd be willing to make an alternative with qamuSHa' and sure enough, here we are! I did edit it a bit to leave out the latin lettering, though.
That said, I don't typically finish designs in hoops, so I just don't keep many on hand. I'm constantly looking for new ways to finish my designs, as evidenced in the work I did for the Undertale cross stitch book.
Determine your Fabric Count
I decided to make a flat ornament pretty early on due to the pattern's circular nature. However, the full design on 14 count would be 5.9″ x 4.7" (15cm x 12cm) which is a bit big for a flat ornament. So I pulled out an old trick of mine to keep it small.
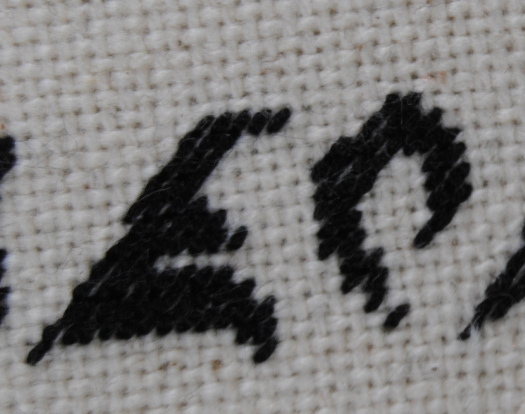
If you zoom in close you'll notice this isn't cross stitch at all! Technically it's petite point, but still. Basically, I found a scrap of leftover 28 count evenweave that was big enough to fit both the pattern and some extra space to finish it with. Then stitched the design using two strands of thread but only stitching half stitches, or tent stitches. This also means it stitches up much faster.
Materials
Once the stitching was out of the way, I gathered my materials. Basically, you need the following:
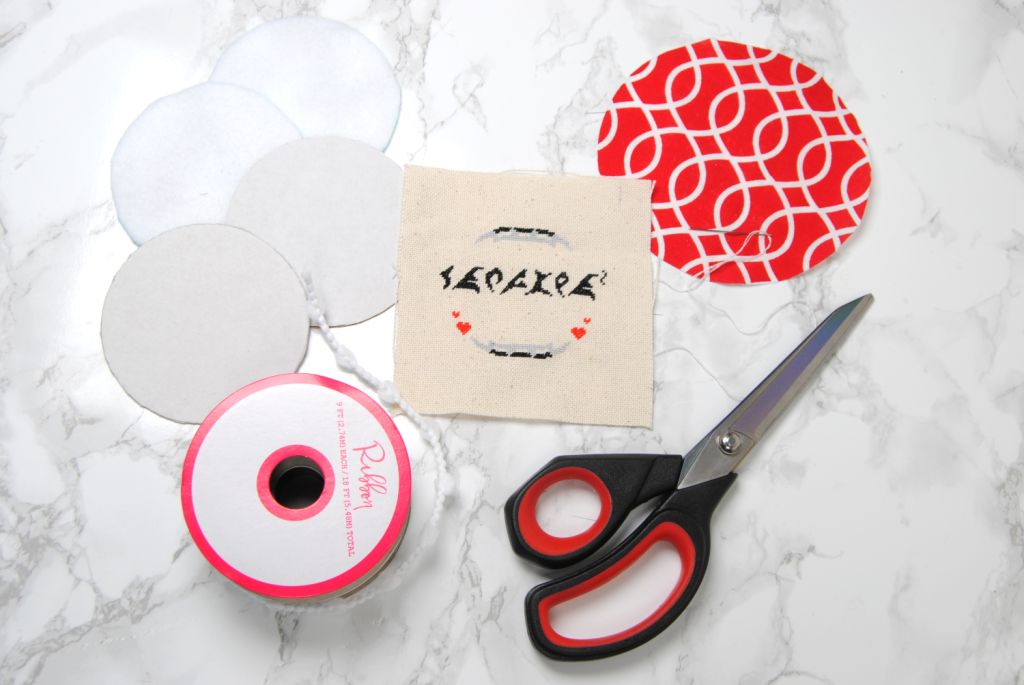
- 2 circles of thick cardstock or thin cardboard cut to the size you want your finished flat ornament to be. I typically use comic book backing board. But I'm running low, so this time I used some leftover packaging from an Ikea box. Cardboard that is easily cut, but thick enough to hold its shape.
- 2 circles of cotton batting or craft felt. For this one, I used felt. It just depends on what you have on hand. And how much padding you want.
- A larger circle of fabric. This will be the back of your ornament. I used a random fat quarter I had that I felt matched the red in the design.
- Your cross stitch finish, ideally cut to the same size as the backing circle (unlike me).
- Some decorative ribbon or cording to go around the edge of the ornament.
- Twine or ribbon to hang the ornament from. (Not pictured above)
Getting That Perfect Shape
How do you get these perfect circles though? Well if you're lucky enough to own a circle template, you could just use that. Or, you could improvise like me.
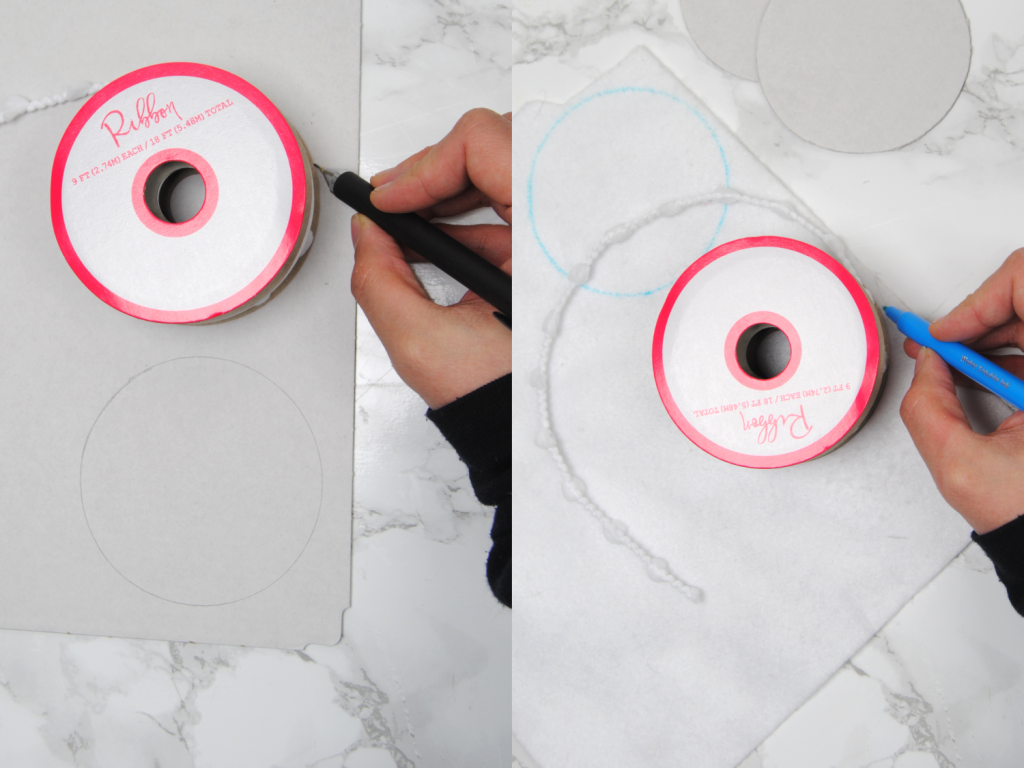
With my design now stitched on 28 count, it was about 3″ (7.62cm) in diameter. So I wanted a circle just a little bit bigger than that to give it some room around the design. Luckily for me, the ribbon I was planning to use was on a spool about 3.5″ (8.9cm) in diameter. So using it as a template, I cut my cardboard and felt. Felt wouldn't quite pick up pencil marks, so I used a water soluble pen to trace my circle.
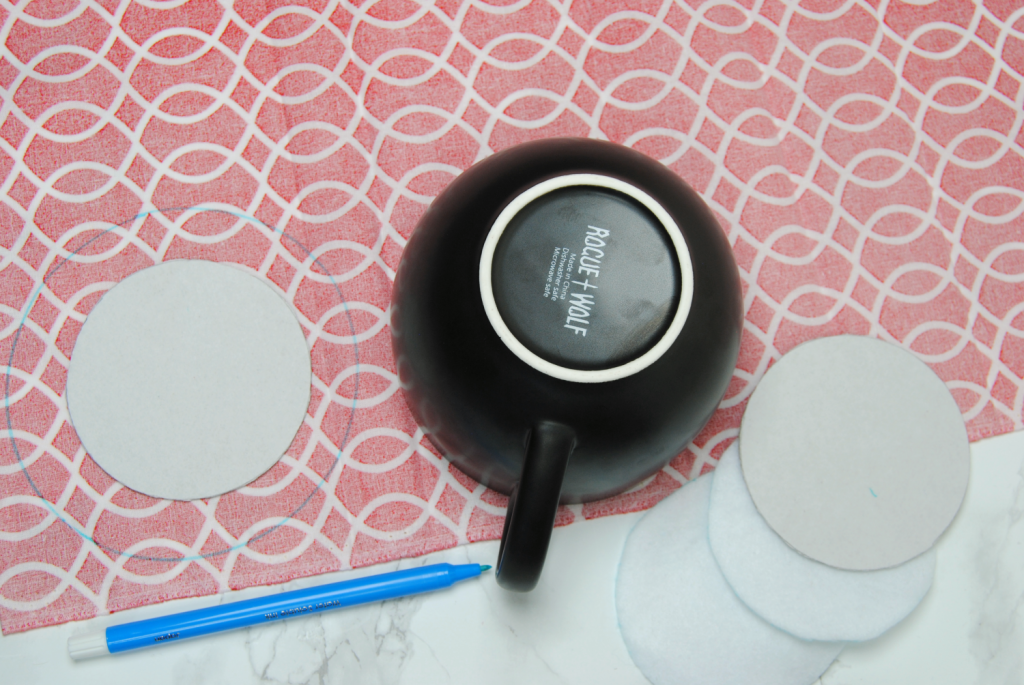
Finding a slightly larger circle was a bit trickier. It needed to be at least a half inch (1.3 cm) of fabric larger than the ornament would be. Luckily I had this large mug nearby with a 5″ (12.7cm) rim. So I used that to trace out my backing fabric.
The square scrap of evenweave I had stitched on was smaller than this mug. Instead, I rounded a bit so they wouldn't get in my way.
Assembling the discs
Now that you've got everything cut out, let's put it together.
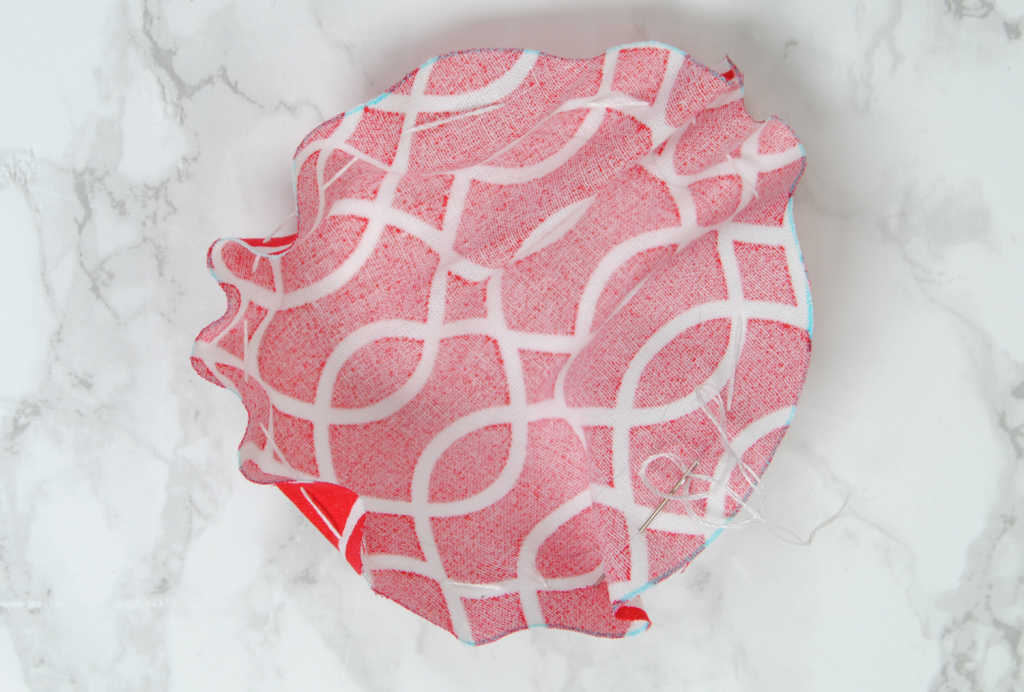
I started by knotting the end of my thread and doing a very loose running stitch around the edges of my backing fabric. The thread color doesn't matter much for this part, but I used white because that's what I'd be using to attach my cord later. None of this is visible in the finished project, so it doesn't have to be neat or even. This is just to cinch the fabric into a proper circle later. Don't tie off the string just yet though!
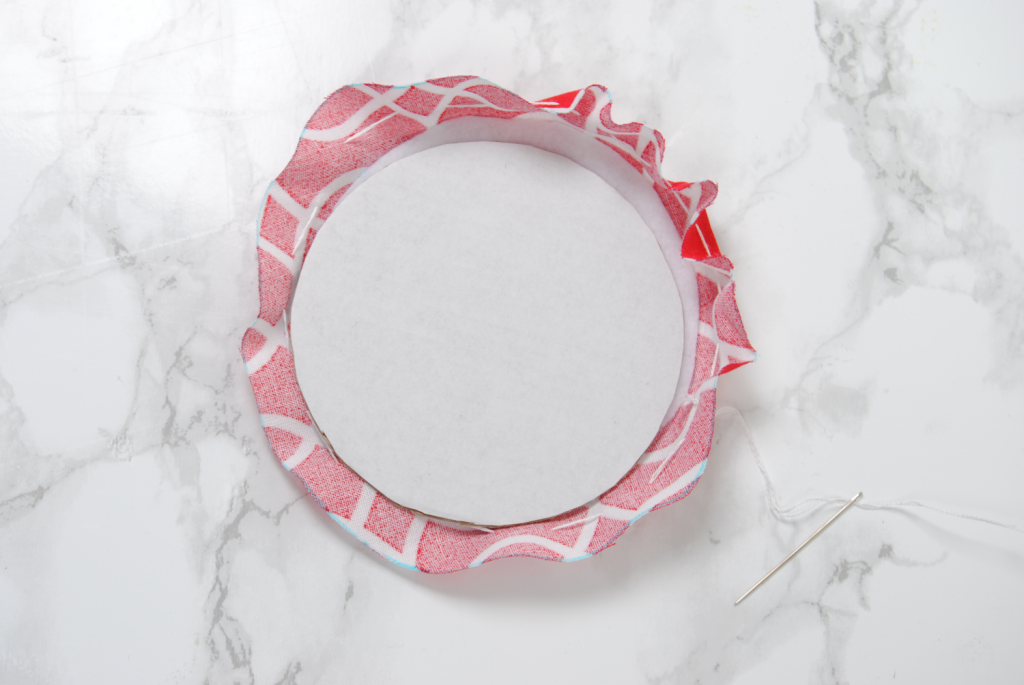
Secure Your Fabric in Place
I then carefully laid one of my felt circles in the middle, placing one of the cardboard circles on top. Then lightly pull the end of the thread so that it starts to ruffle up and conform to the shape of the cardboard. Then start stitching across the cardboard to pin down the edges.
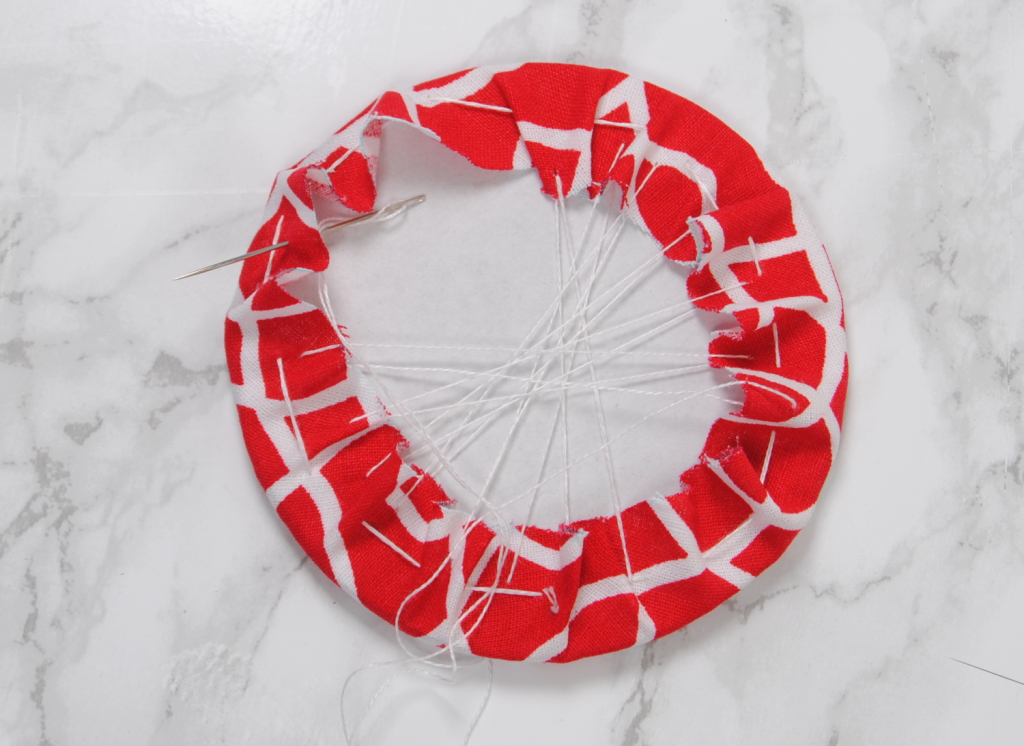
For some fabric patterns this doesn't matter, but this is the best time to center any designs around the circle as you can still slide the fabric around a bit while you stitch. Pay close attention to how it's looking on the back if you want the fabrics' design to line up.
When you do this with your cross stitch, you'll want to make sure that's properly centered too. Now's a good time to practice.
Keep stitching across, slowly going around the edge of the fabric. In the end, it should be fairly flat, but not perfect. The important part is the edges around the mat board.
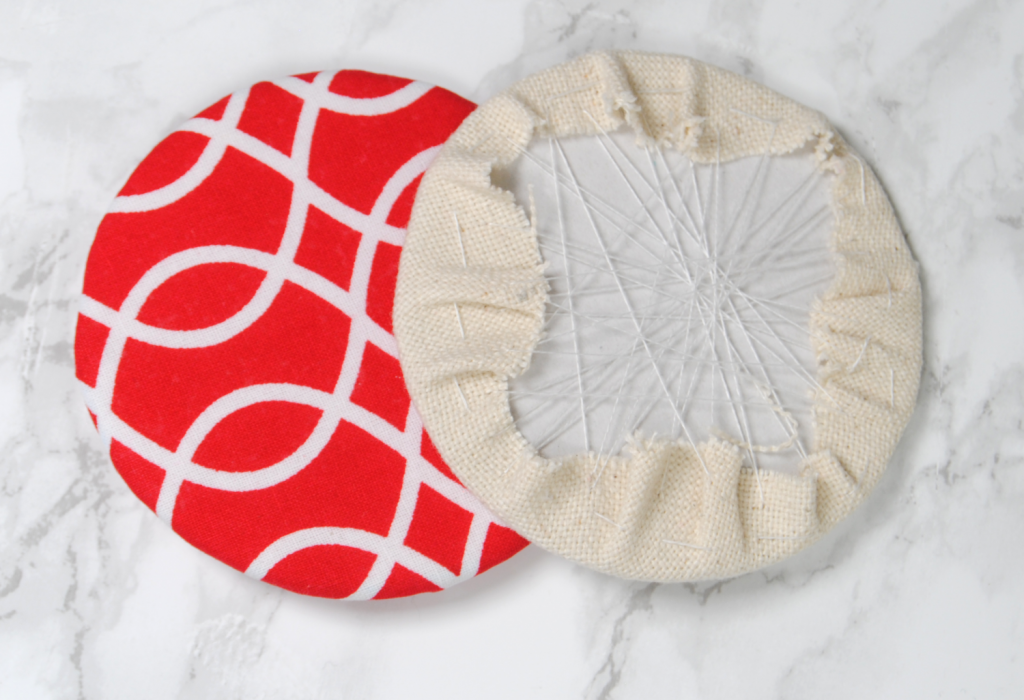
Now do this with your cross stitch, too. You can see where mine wasn't exactly circular, and some areas were thinner than others. But ultimately, this doesn't matter as it won't be seen. Focus on centering the pattern, and securing the fabric in place.
Attaching the Ribbon
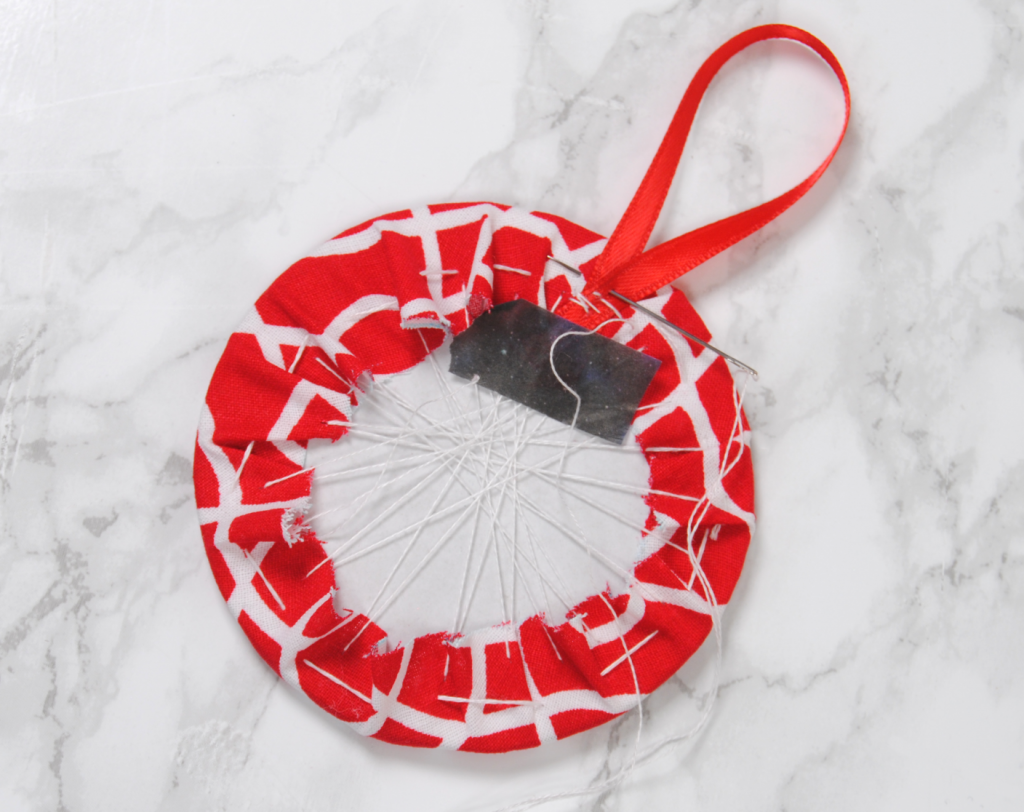
This is also the best time to attach your hanging ribbon. As you can see I used some washi tape to stick it in place so that I could look at it from behind, hold the other piece in front of it and see if I liked how it looked first. After checking to make sure it is centered, sew it into place.
Not pictured here, but I also sewed the beginning end of my edging ribbon in the same place. This way the end of the ribbon is safely tucked away inside.
Putting it all together.
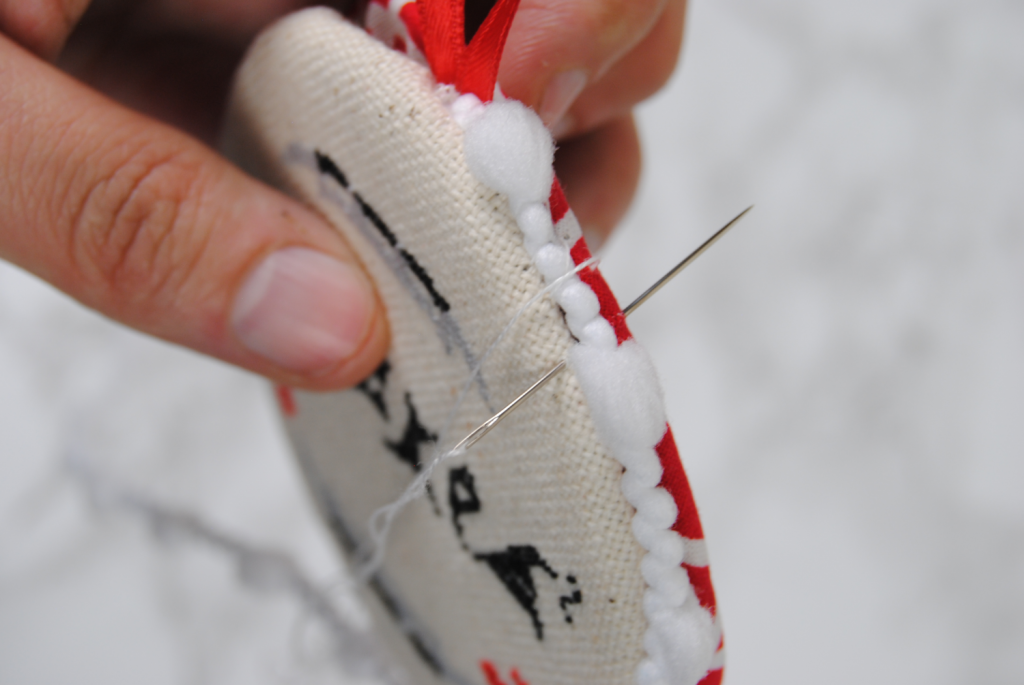
Sandwiching the two discs together, I started carefully stitching the edging cord between the two. I would carefully make sure it was piercing both the evenweave and the backing fabric. Sometimes a bit of the felt as well. I would then pull it tight, trying to line up the thread with the grooves of the braid so they would be hidden.

Continue stitching it around the edge, making sure your stitches are spaced evenly apart and are hidden. Once I got back around to the top I cut my ribbon to size and carefully tucked the end in between the two discs with the tip of my needle.
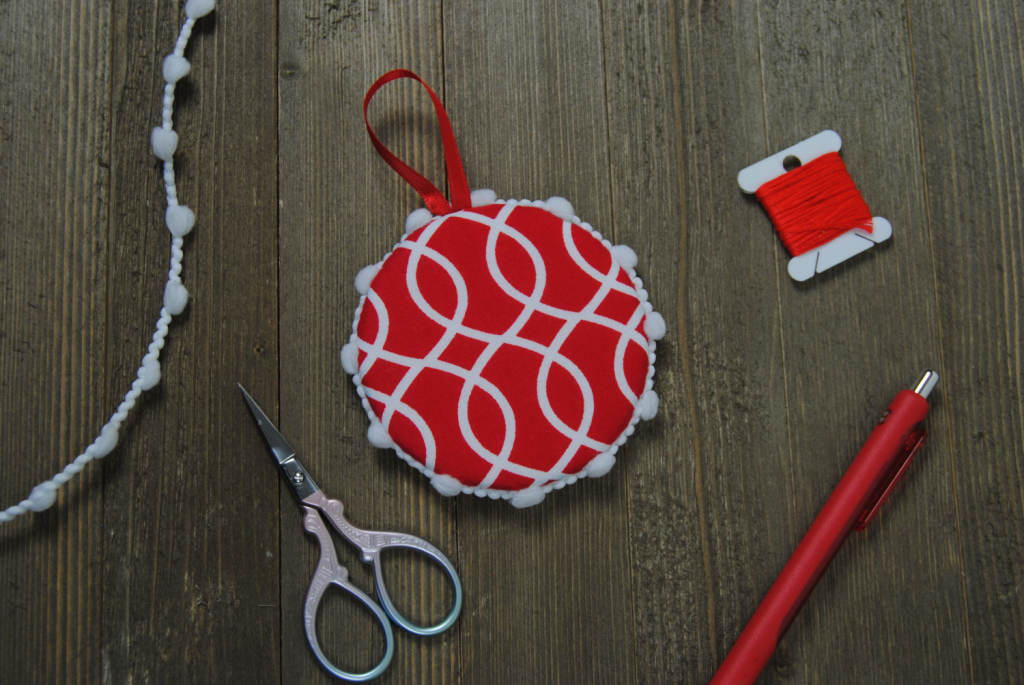
And there's your flat ornament! Here's the back so you can see how I centered the fabric. You can make these in most basic shapes using the same basic techniques. So be sure to pick out a shape that works well with your design!
Found this post useful? Share it with others!
How to Make Cross Stitch Christmas Decorations
Source: http://sirithre.com/how-to-make-a-cross-stitch-flat-ornament/
0 Response to "How to Make Cross Stitch Christmas Decorations"
Post a Comment